Custom artwork
JPG, PNG or WebP: Which File Should You Upload?
Choose an upload format for your custom mousepad by checking transparency, fine edges and file size while preserving your best original artwork.
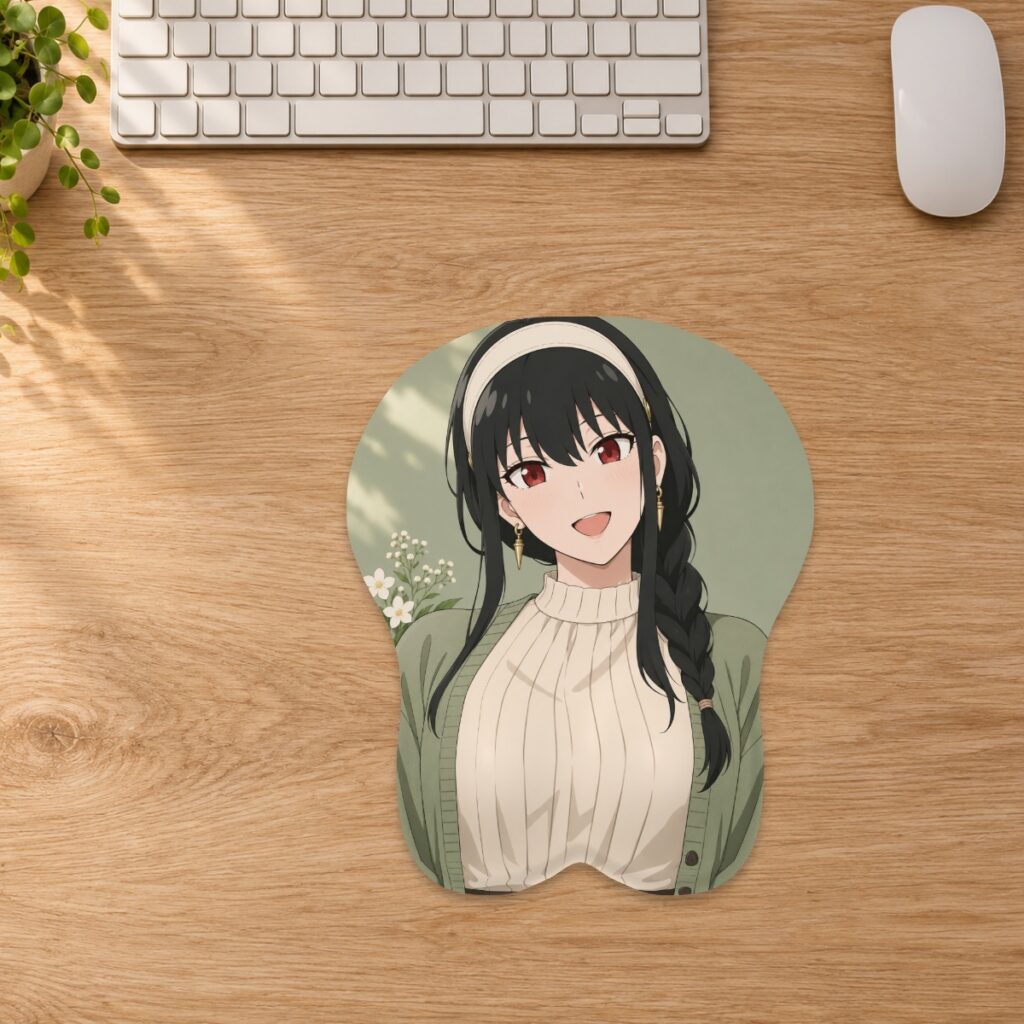
Choose an upload format for your custom mousepad by checking transparency, fine edges and file size while preserving your best original artwork.
Start with the file you actually have
The custom studio accepts genuine JPG, PNG and WebP files up to 20 MB. A format choice is useful when you are exporting from your own working file; it is not a way to repair an already blurred download. Keep the best original and make a separate upload copy. Changing a filename from .jpg to .png does not convert its contents. Use your editor’s export command, then reopen the exported file before uploading.
Choose for the kind of image you are exporting
JPEG uses lossy compression and can suit a photographic image without transparency. PNG uses lossless compression and supports transparency, making it useful for a character cutout or artwork with crisp lettering. WebP supports both lossy and lossless encoding, as well as transparency; check your export settings rather than assuming every WebP preserves all source detail. These format capabilities are documented in MDN’s image format guide.
Compare edges before choosing a smaller file
For your upload copy, inspect a few important areas: small letters, the border between hair and background, and any fine linework. Compare these with the original at a similar zoom. If a compressed export creates visible blocks or rough edges, try a higher-quality export or another accepted format. A smaller file is helpful only if it still holds the detail your composition needs.
Treat transparency as an artwork decision
If you want a cutout over a studio background, keep transparency when exporting to a format that supports it. A white rectangle or a checkerboard saved into the picture remains part of that picture. Check the exported file against a colored background in your editor before deciding it is transparent. Then review the exposed areas in the studio; see the background guide for composition checks.
Separate the upload limit from effective resolution
File size in megabytes and the detail available after cropping are different checks. A file below 20 MB can still be too small for your chosen layout. Select the final pad size, upload the file, and check the effective resolution after zooming and repositioning. The custom artwork guide recommends 300 DPI at the selected print size and explains the warning below 150 DPI. Saving the same pixels into a larger file does not supply missing detail.
Use a short export-and-review routine
Save the original, export one candidate, reopen it, check its edges and background, and then test it at the intended size in the custom studio. If the candidate is unsuitable, return to the original working file. Keep the selected upload and the size-specific layout clearly named so you can compare them with the production proof. A successful upload confirms that the file was accepted, not that its composition or print result has been approved.
Prepared by the 3DMousepad store team using our product specifications and published store guides. Product illustrations are not scale drawings. Check the product page for the current options, price and availability. Ask us about your setup or suggest a correction.
Keep exploring
Collection Design or Custom Mousepad: Which Route Fits Your Order?
Compare choosing an existing mousepad design with uploading your own artwork, including the decisions, shape options and preparation stages involved.
Ordered the Wrong Mousepad Size? Plan an Exchange
Check your order stage, measure the replacement size and contact the store before returning a mousepad that does not fit your desk.
Two Characters on One Custom Mousepad: Plan the Layout
Keep both characters recognizable in a shared mousepad design by checking their scale, spacing and position inside the curved outline.