Custom artwork
Character Too Small in Your Mousepad Preview? Check the Canvas
Check transparent or blank space around your character before enlarging it in the custom studio, while preserving the original and reviewing detail.
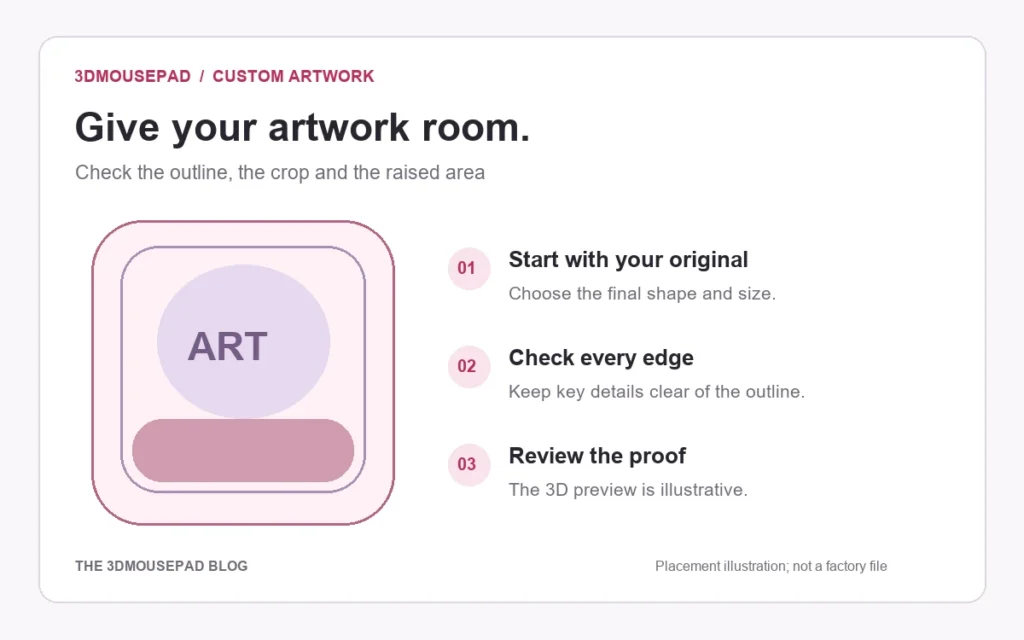
Check transparent or blank space around your character before enlarging it in the custom studio, while preserving the original and reviewing detail.
Compare the visible character with the whole image
Open the source file in an image editor and view its complete canvas. The canvas is the full rectangle of pixels, including any empty-looking space around the drawing. For example, a character occupying 800 pixels across a 4,000-pixel-wide file uses only 20% of that width. When the studio fits the complete image rectangle, that surrounding space participates in the fit. This example explains one possible cause of a small-looking subject; it is not a measurement of your particular upload.
Distinguish transparency from a saved background
A transparent border and a white border can both leave the visible subject far from the image edges, but they behave differently against a background color. Check the file in an editor that can show transparency. A checkerboard drawn into the picture is part of the artwork, not an empty area. The background guide explains that distinction. Decide which surrounding space is intentional before changing it, especially if the layout includes a signature, accessory or faint linework.
Make a working copy before removing unused space
Keep the original and crop a separate candidate if the canvas contains space you do not want in the composition. Inspect all sides of the drawing before and after the crop so loose hair, a tail, lettering or subtle shadows are not lost. Do not crop away a supplier’s required production allowance or a background that you actually need for positioning. This is source-image preparation, not a replacement for the product’s final outline or safe-area review.
Use an appropriate trim tool when available
Adobe’s Photoshop crop and trim guidance describes trimming transparent edge pixels and trimming areas based on a corner color. Those choices do not mean the same thing. A color-based trim deserves particular care when pale artwork resembles the background. Use an editor you already have that supports the operation, and inspect the result instead of assuming an automatic command preserved every important feature. Removing empty canvas does not add detail to the subject itself.
Upload the candidate and review zoom again
In the custom studio, select the intended family, size and style, then compare the candidate at the placement you want. Start with Fill pad or Fit image, adjust position and zoom, and review the entire curved outline. Read the current effective-resolution display after those adjustments. Enlarging the subject can reveal limited source detail even when the original file’s overall dimensions looked large. Follow the artwork guide for upload formats and resolution warnings.
Keep the chosen crop identifiable for proof review
Save the selected source candidate and its size-specific layout with distinct names. Compare the face, accessories, edges and raised area in both flat and 3D views before approval. If the subject still cannot occupy the intended space without losing detail or clipping something essential, reconsider the composition rather than stretching it independently in width and height. Ask the store about a placement that must be exact, and retain the original so any revision can start from the complete artwork.
Prepared by the 3DMousepad store team using our product specifications and published store guides. Product illustrations are not scale drawings. Check the product page for the current options, price and availability. Ask us about your setup or suggest a correction.
Keep exploring
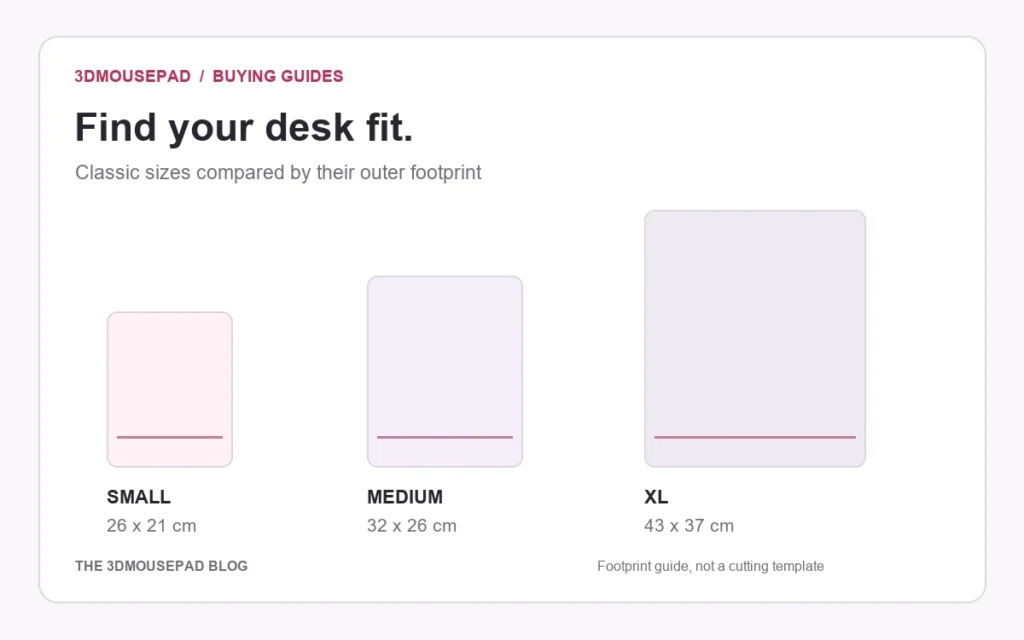
Repeating Patterns on a Custom Mousepad: Plan the Motif Scale
Plan the size and spacing of a repeating motif before uploading a complete pattern layout, then check partial motifs, curved edges and the raised support.
Return Shipping a 3D Mousepad: Protecting Its Raised Shape
Confirm return instructions first, then choose packaging that supports the mousepad without folding it or compressing the raised area.
Moving a Custom Mousepad Project from Phone to Computer
Keep the original artwork and layout reference when changing devices, then recreate and check the intended custom mousepad placement on the new screen.