Custom artwork
Bleed, Cut Line and Safe Area: Plan the Edges of a Custom Mousepad
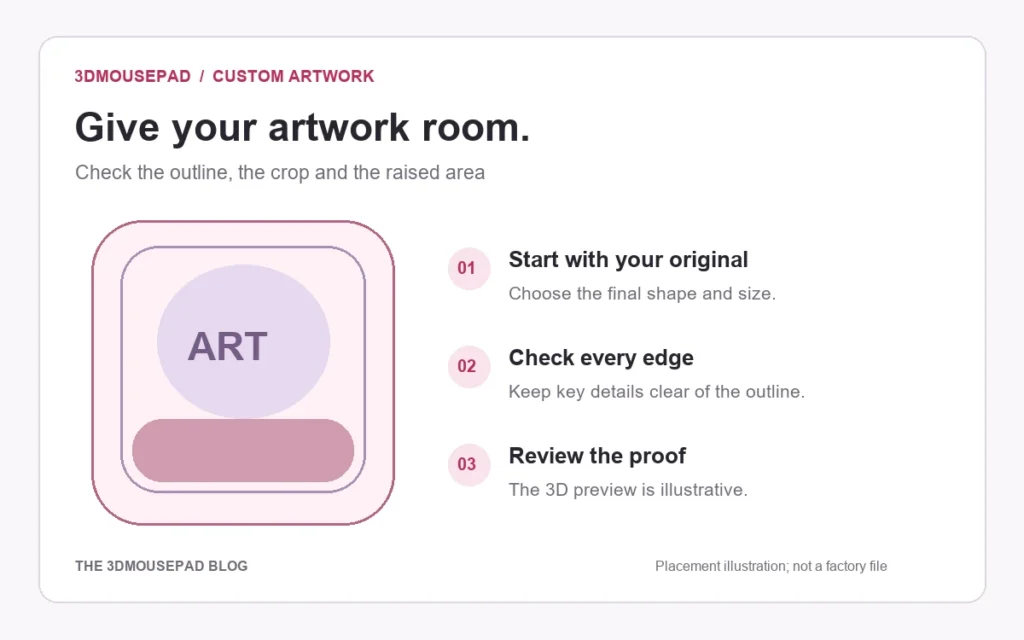
Understand background bleed, the cut outline and space for essential details before reviewing a custom mousepad with a curved shape or decorative border.
Understand background bleed, the cut outline and space for essential details before reviewing a custom mousepad with a curved shape or decorative border.
Give each edge term a different job
In print preparation, the cut line describes the intended finished edge. Bleed is background artwork extended beyond that edge for the production process. A safe area keeps essential details farther inside it. These ideas answer different questions: whether the background reaches the edge, where the item is cut, and where a name or face belongs. They do not supply the actual measurements for your order. For a shaped mousepad, the current supplier template and reviewed production proof determine those product-specific requirements.
Keep essential details inside while the background extends
Adobe’s Illustrator printing guide describes bleed as artwork extending beyond the printing boundary or trim marks. This is a general printing principle, not a mousepad template. Keep the background extension separate from the space reserved for essential text and key visuals. Confirm both requirements for the selected shape and size. Extending a background should not be achieved by enlarging a face until it approaches the cut edge.
Check curved sections, not just four rectangular sides
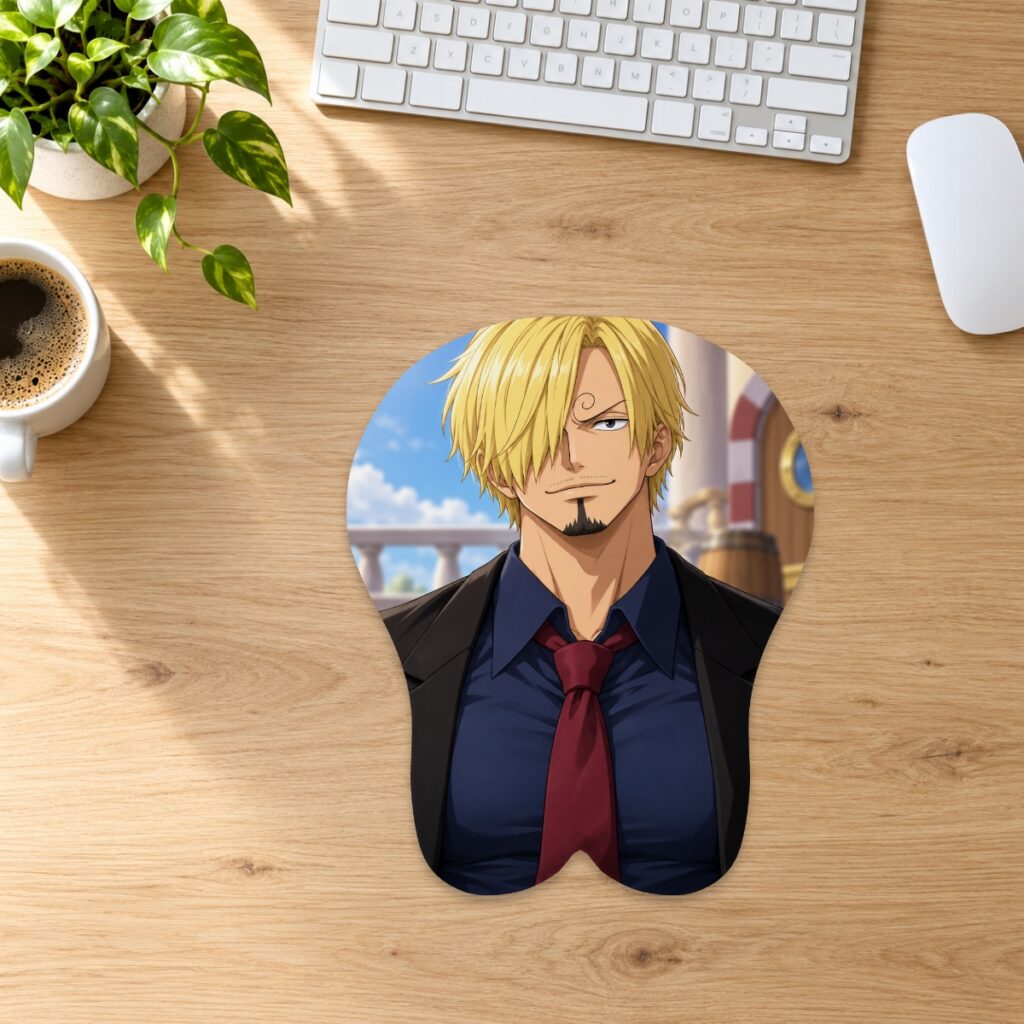
A rectangular source can appear to leave plenty of space at its corners while a curved silhouette removes parts of those corners. Inspect the top curve, side transitions and lower outline separately. The custom artwork guide explains that Fill pad can crop excess artwork and Fit image may leave a border while still losing details near curved corners. Review the complete outline after each placement change, rather than checking only the center of the image.
Treat a decorative border as a placement requirement
A thin frame drawn close to the finished edge can make even a small difference in placement conspicuous. Decide whether a continuous, evenly spaced frame is essential to the design or whether a quieter background would meet your goal. If the frame matters, identify it explicitly when requesting the proof and ask about feasibility before ordering. A border in the source file is artwork that may print; it should not be mistaken for a removable cutting guide.
Do not infer a template from the size chart
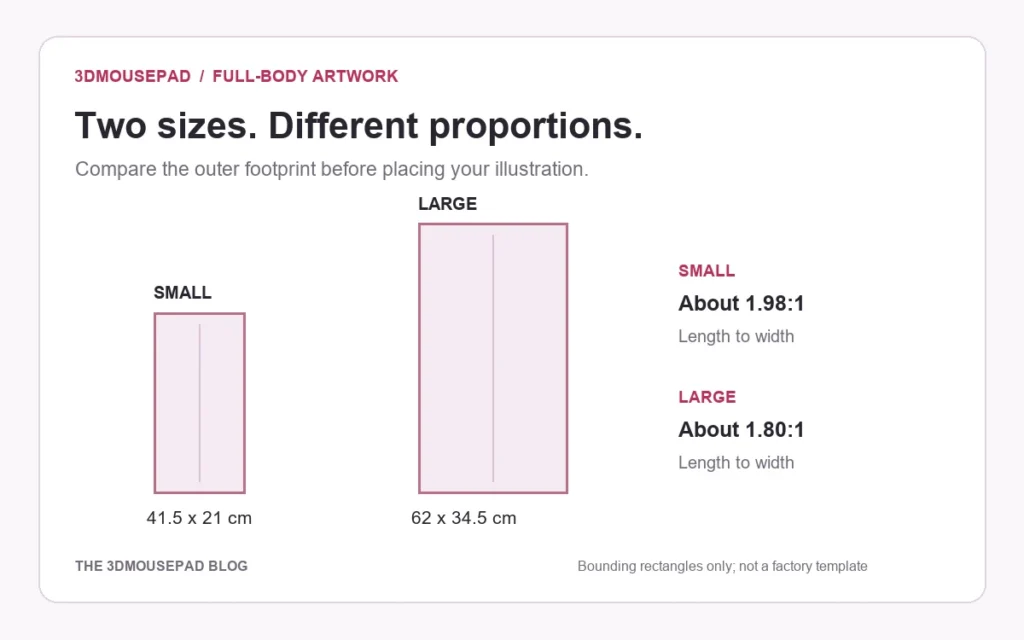
The size guide describes outer dimensions, maximum raised height and the available product families. It does not define bleed allowances, cutting tolerances or a universal safe-margin distance. Classic and full-body shapes need their own review, and the raised support creates an additional placement consideration inside the edge. Avoid transferring measurements from a paper-print template or from a different pad. If you need a precise margin, ask for the product-specific requirement before preparing the final production copy.
Review the proof without turning guide marks into artwork
Keep the editable source separate from the image intended for printing. If guide lines, labels or notes are present, confirm which are production annotations and which belong in the design before approving the file. Review the background coverage, border spacing, important details and raised area at the selected size. Record any revision clearly and check the whole revised proof. The digital studio view illustrates placement; it does not replace a supplier-approved production proof or establish a new factory template.
Prepared by the 3DMousepad store team using our product specifications and published store guides. Product illustrations are not scale drawings. Check the product page for the current options, price and availability. Ask us about your setup or suggest a correction.
Keep exploring
Return Shipping a 3D Mousepad: Protecting Its Raised Shape
Confirm return instructions first, then choose packaging that supports the mousepad without folding it or compressing the raised area.
Moving a Custom Mousepad Project from Phone to Computer
Keep the original artwork and layout reference when changing devices, then recreate and check the intended custom mousepad placement on the new screen.
Ordering a Mousepad to an APO, FPO or DPO Address: Confirm Service First
Check service availability, address details, delivery charges and timing with the store before ordering a mousepad to an APO, FPO or DPO destination.